
Appearance
Visual Editor
The Visual Editor lets you add and arrange page content directly on the live page, instead of filling in a form in the admin panel. It appears as a toolbar and an on-page outline whenever you view a page you have permission to edit.
Getting there
Go to Pages (or a custom entity's list, e.g. Calendar Events) in the sidebar.
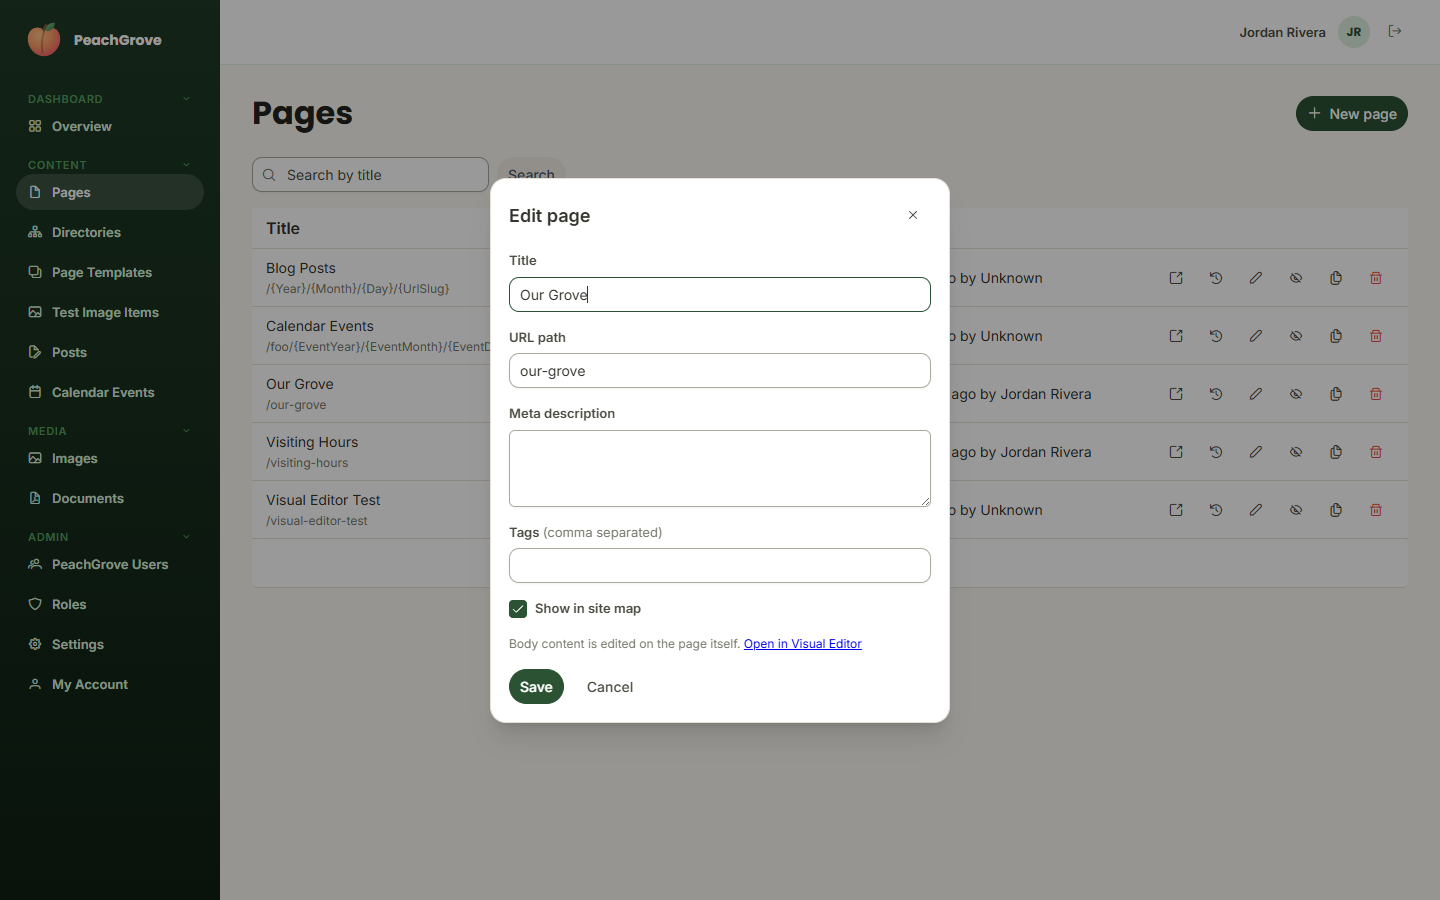
Find the page you want to work on and click the pencil (edit) icon on its row.
This opens the page's Edit page dialog — its title, URL path, and metadata. Content isn't edited here; instead, click the Open in Visual Editor link near the bottom:
This takes you to the page itself, with the toolbar below and, once you switch to edit mode, the outline overlaid on the content regions.
You can also get here directly from a page you're already viewing on the live site, as long as you're signed in and have permission to edit it — the toolbar appears automatically at the bottom of the screen.
The toolbar
A toolbar sits fixed at the bottom of the page whenever you're viewing it as an editor. It shows which version you're looking at (e.g. "Draft" or "V2 (Published)") and its URL, and gives you the relevant actions for that state:
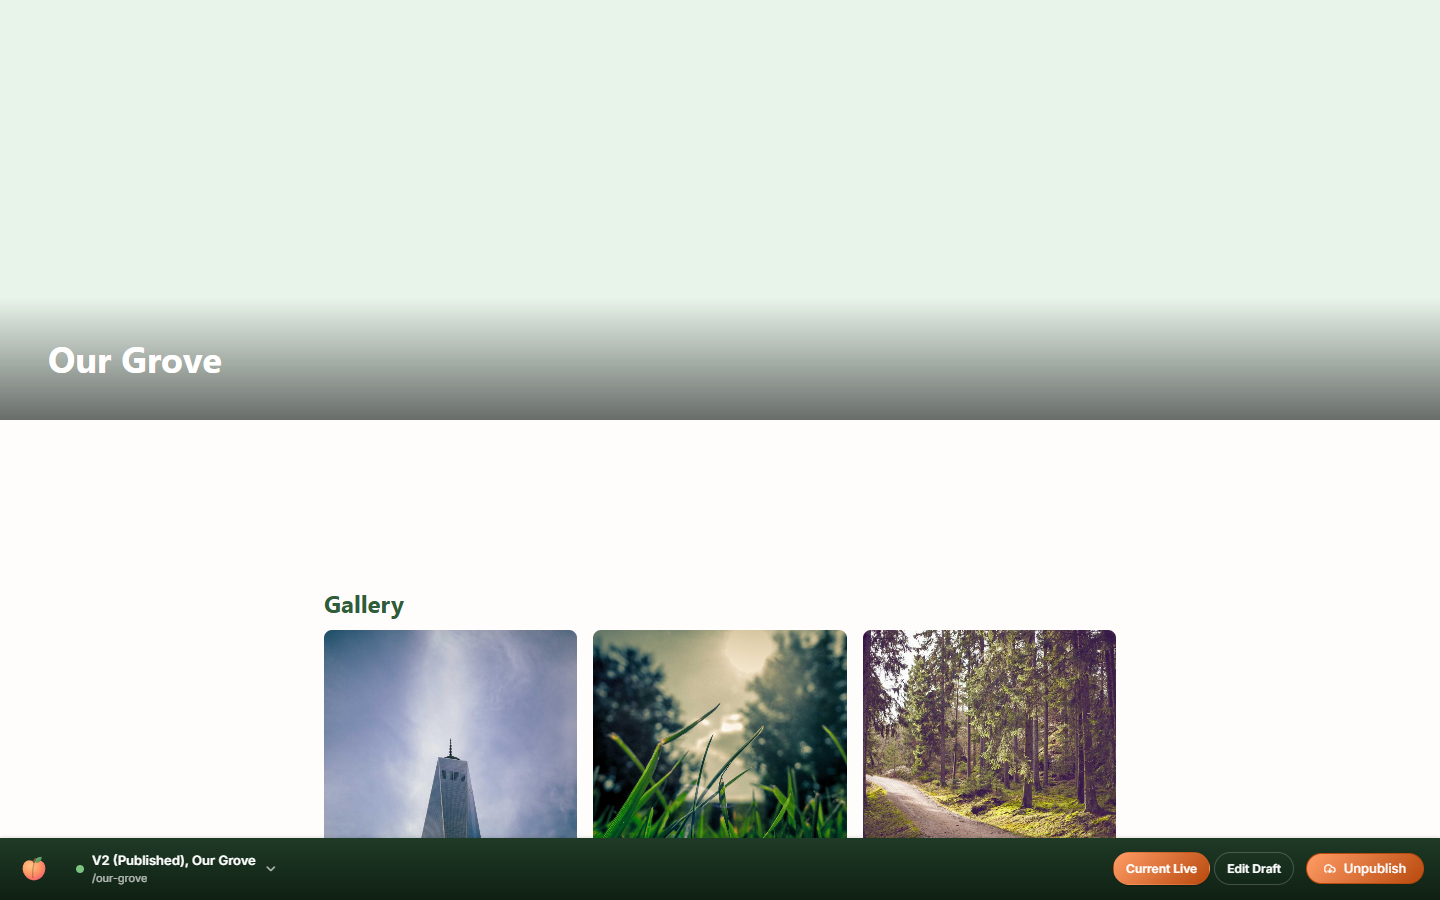
- Current Live — jump to the currently published version.
- Edit Draft — switch into edit mode on the draft version (see below).
- Preview Draft — view the draft as a visitor would, without the editing outline.
- Publish / Unpublish — make the draft live, or take a published page down.
- The version dropdown on the left lets you jump between the page's version history.
Editing content: the outline
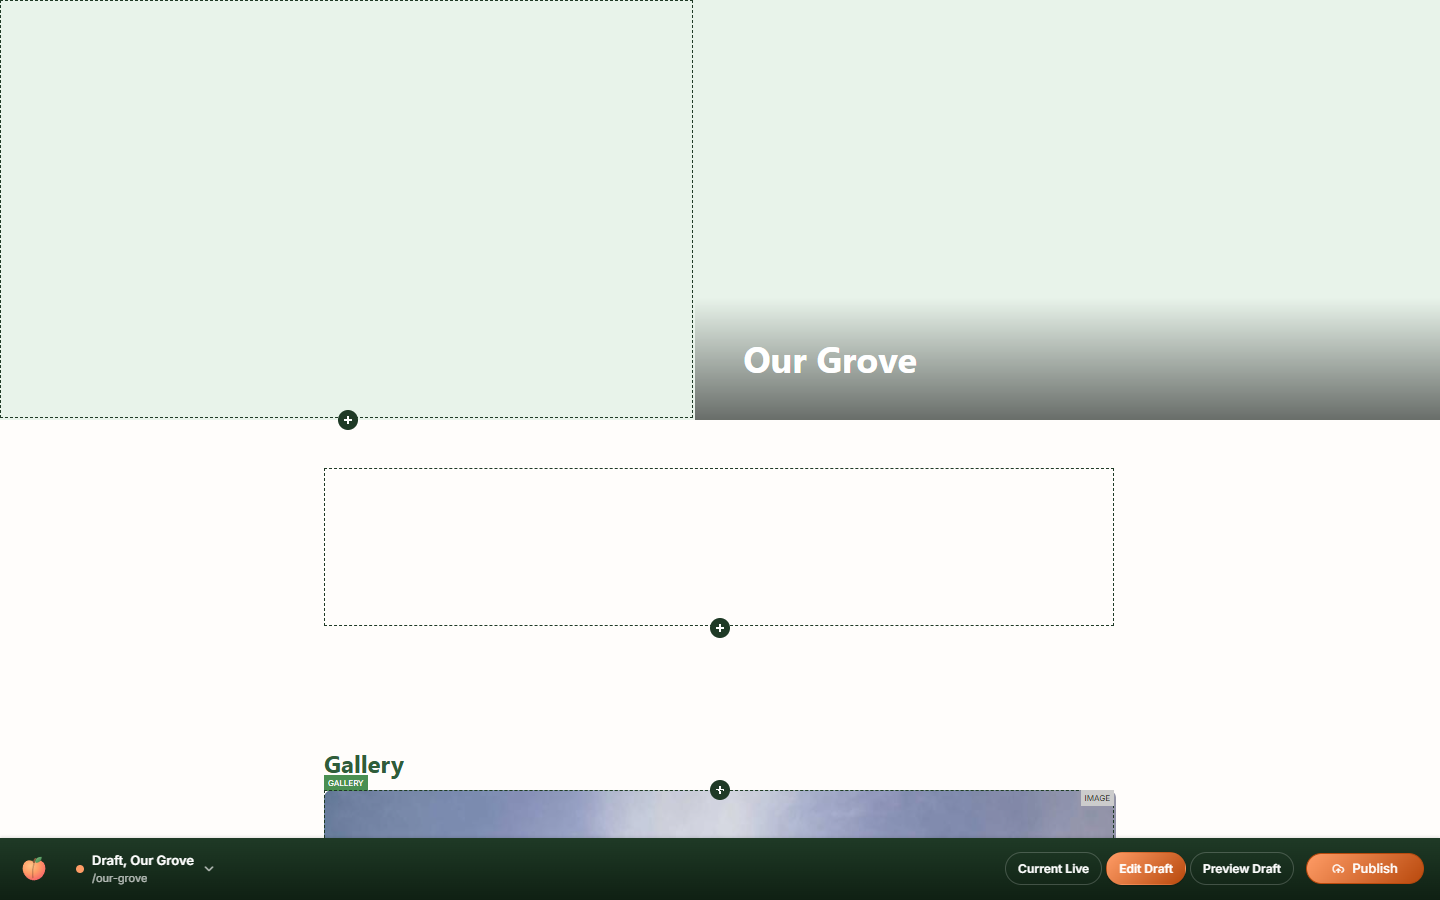
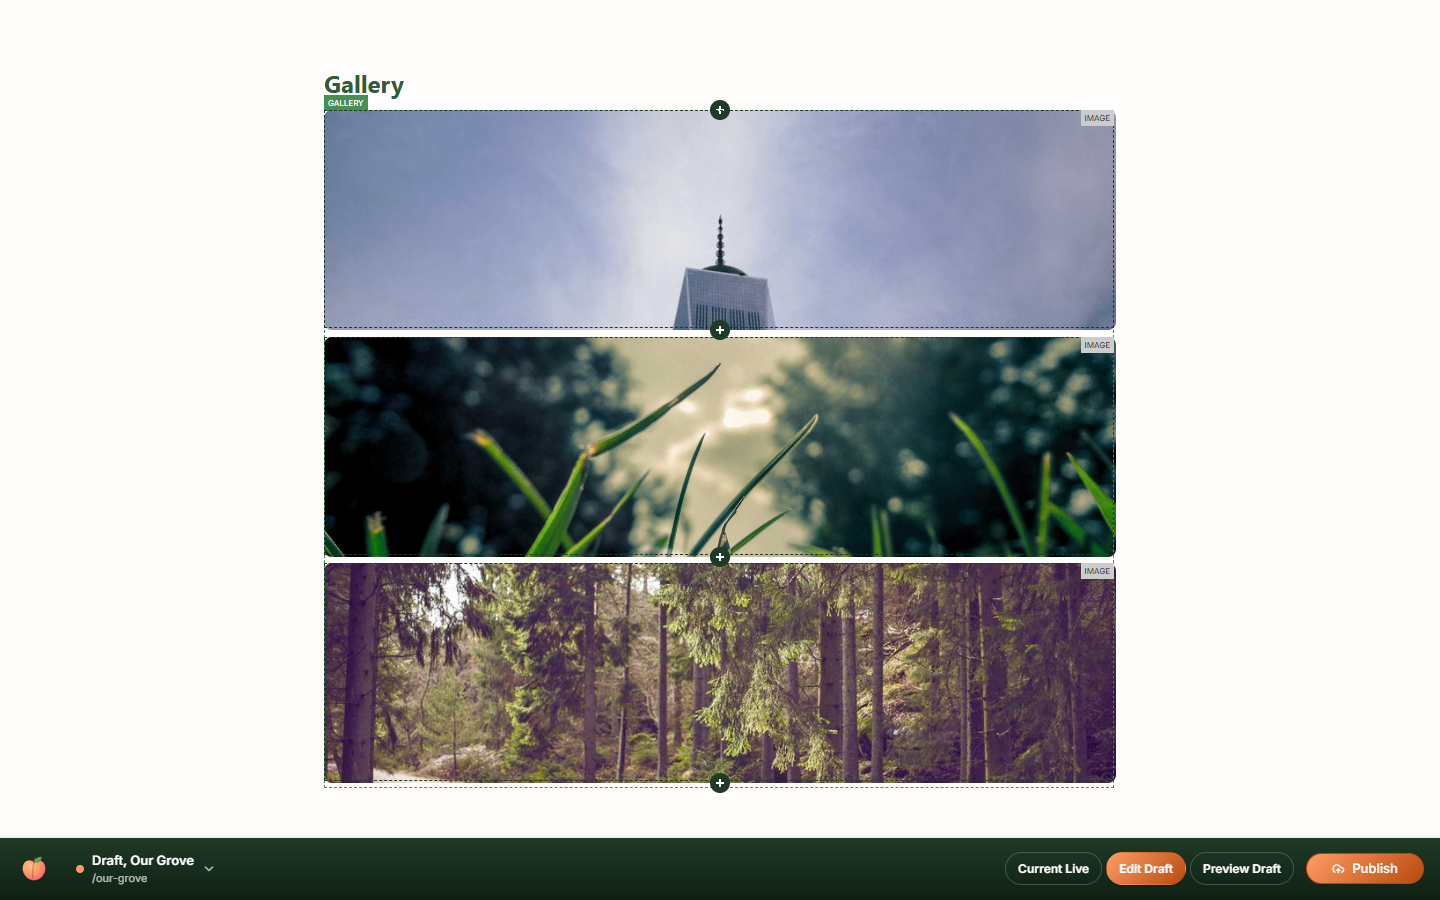
Clicking Edit Draft switches the page into edit mode. Every content region defined by the page's template is outlined with a dashed border and labelled, and empty regions show a + button for adding the first block:
Click + to choose a block type to add — see Block types below for what each one is for and what its editor looks like:
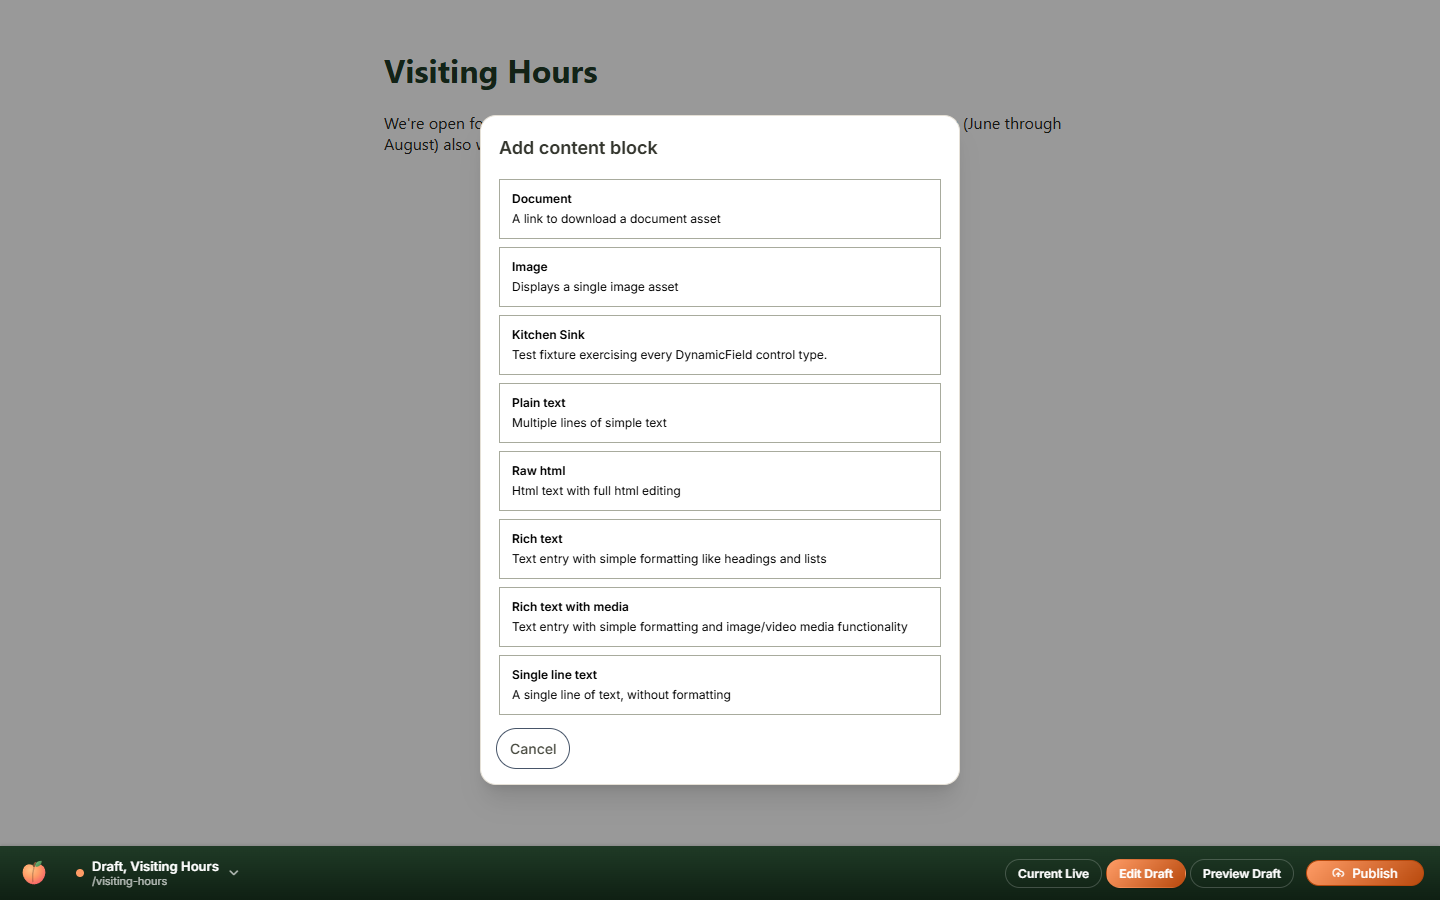
Which block types are offered depends on what the region allows — a hero image region might only offer Image, while a general content area offers everything. Hovering an existing block shows a small toolbar above it — Edit, Add above, Add below, Move up, Move down, and Delete — for rearranging content without leaving the page:
Block types
These are the block types you'll typically see in the Add content block menu, what each is for, and when to reach for it. Which of these a given region offers depends on how that region was set up — a region built for a photo gallery may only allow Image, for example. The two you'll use most often for ordinary page content are Rich Text (or Rich Text with Media, if you're mixing in images) and Image — the rest cover more specific cases.
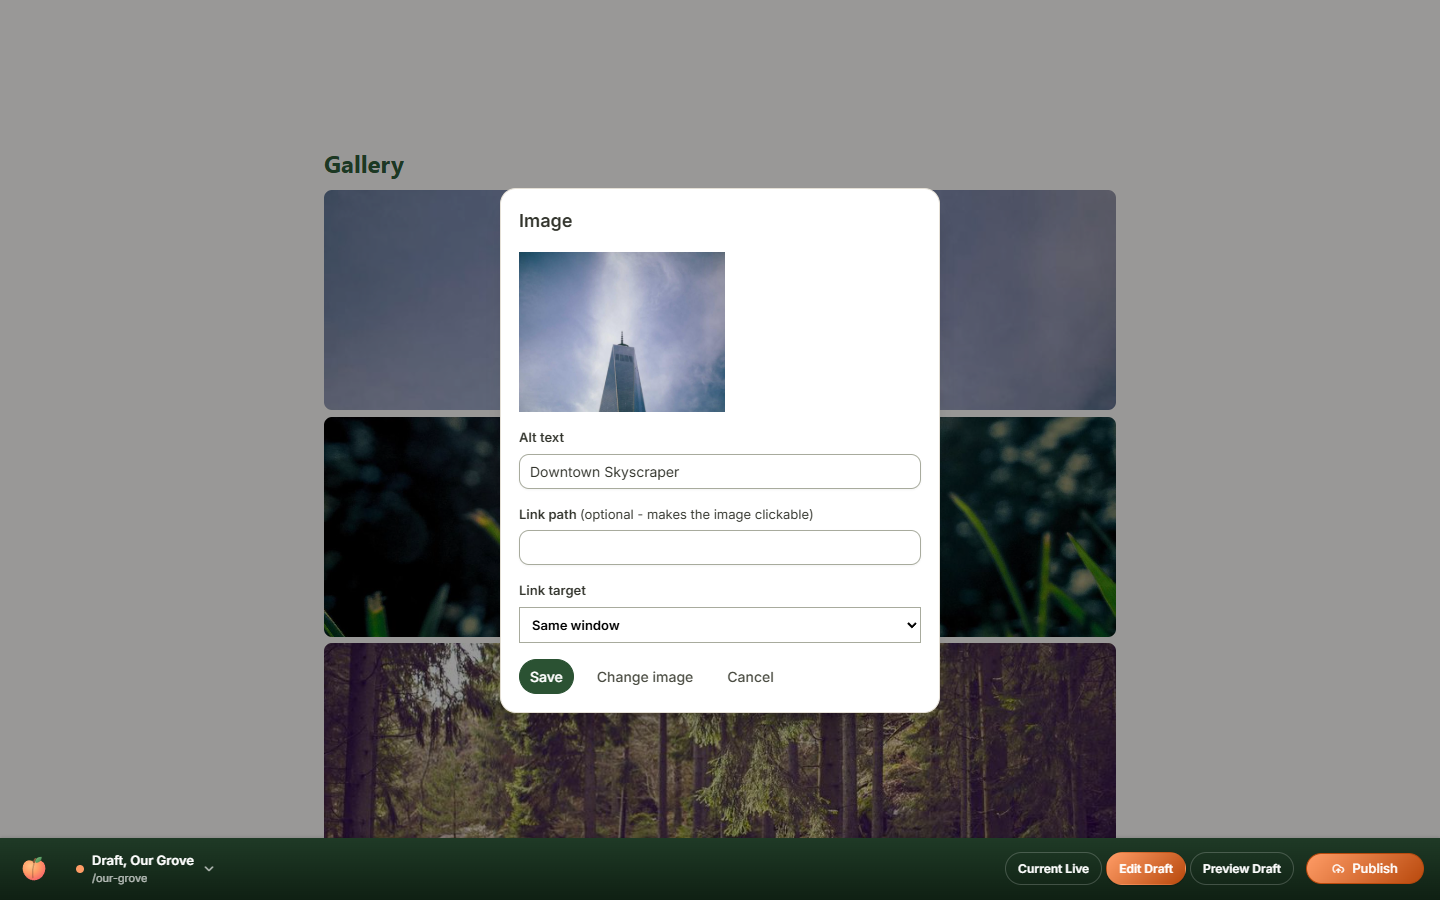
Image
A single image, with alt text and an optional link — edited in a dialog rather than inline:
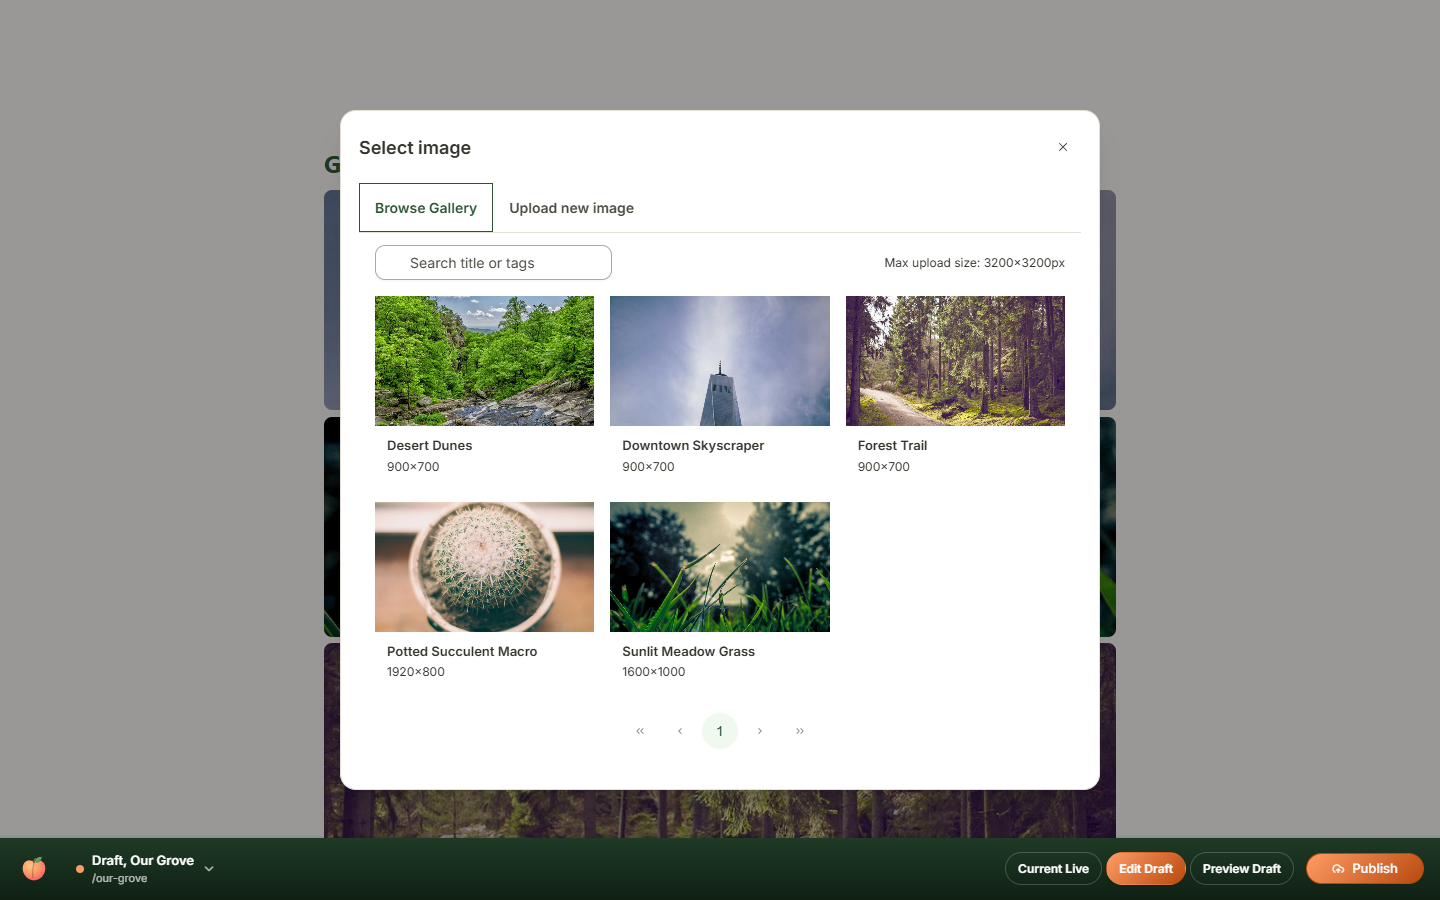
Select image (or Change image) opens the same image picker used in the Media Library — browse your existing images or upload a new one without leaving the dialog:
Use it when you need one photo, illustration, or logo in a specific spot — a hero banner, a gallery tile, an inline photo next to text.
Rich Text
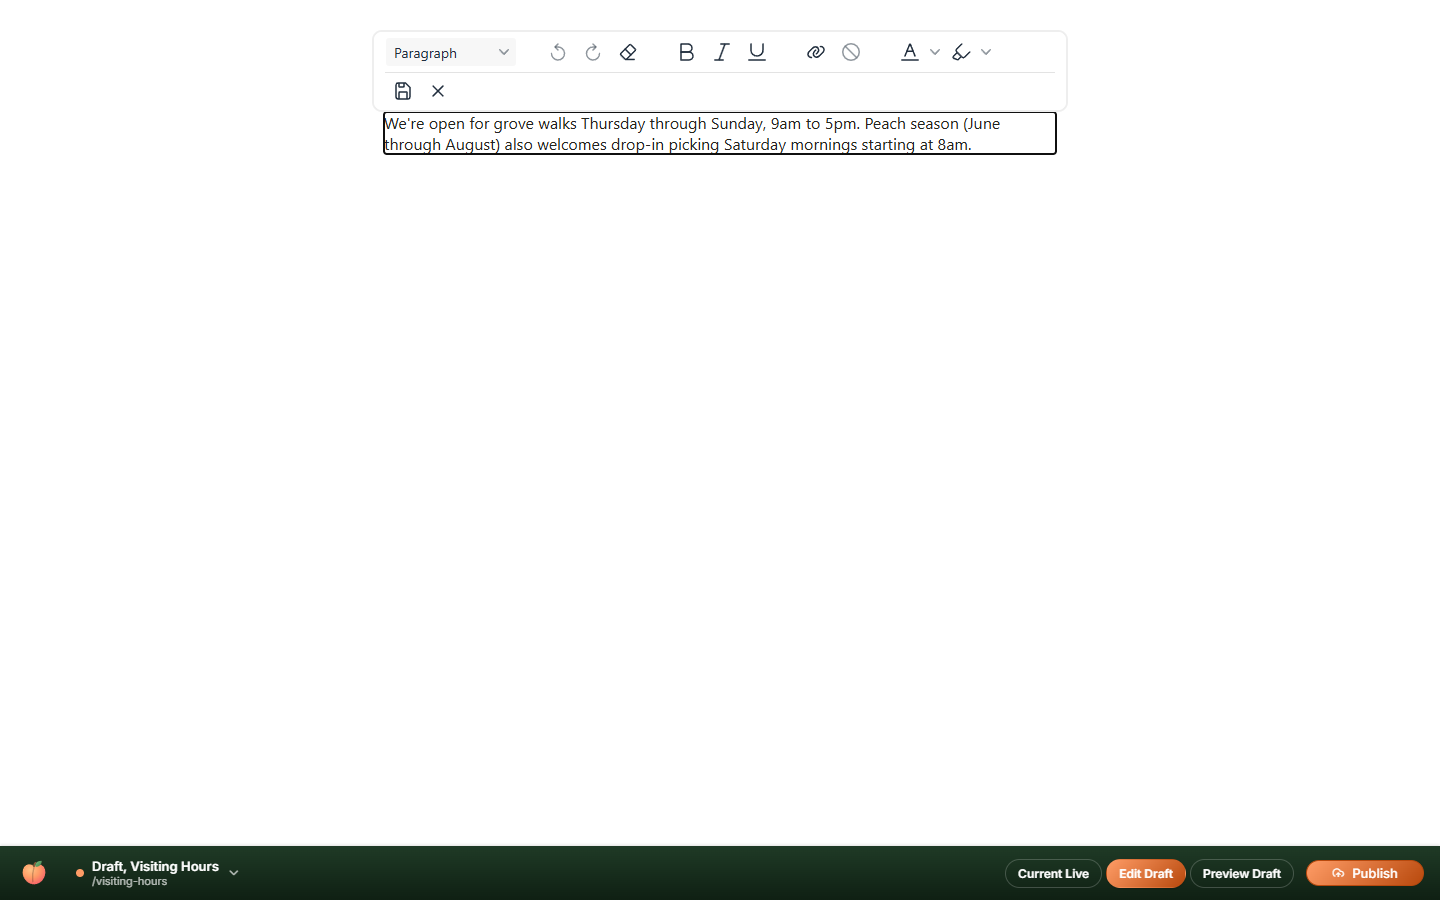
Formatted text — headings, bold/italic, lists, links — edited inline, right on the page. A formatting toolbar appears above the text as soon as you're in edit mode, with no separate dialog to open:
Use it when writing the bulk of your content: paragraphs, an "About" section, a list of features — anywhere you'd reach for a word processor rather than a page builder.
Rich Text with Media
The same Rich Text editor, plus an Insert/edit image button in its toolbar for inserting images directly into the flow of the text, once the block already exists on the page:
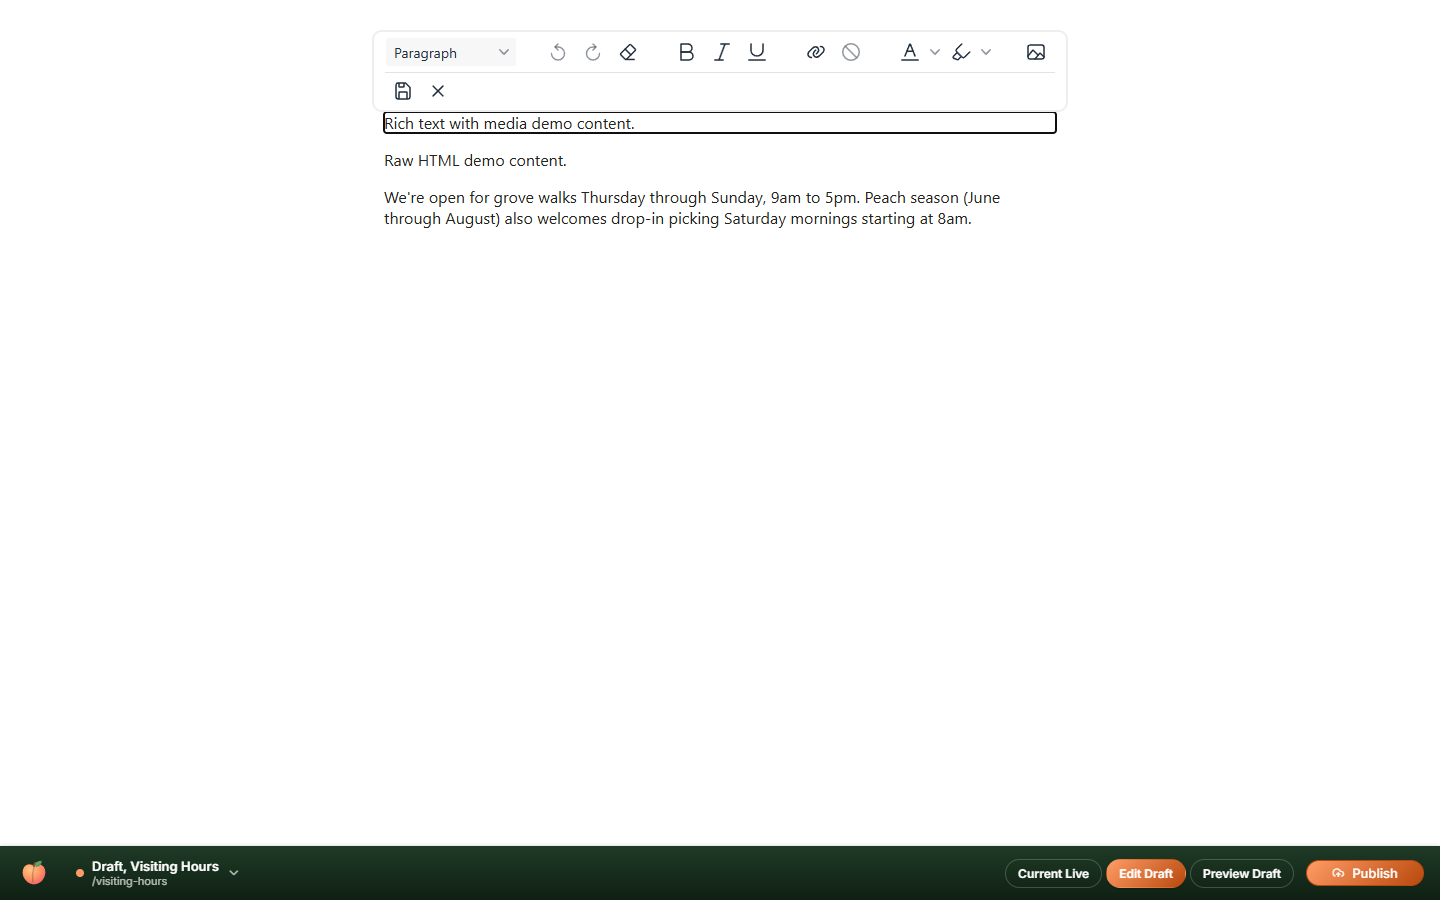
Clicking it opens the same image picker used in the Media Library and the standalone Image block — browse existing images or upload a new one without leaving the editor:
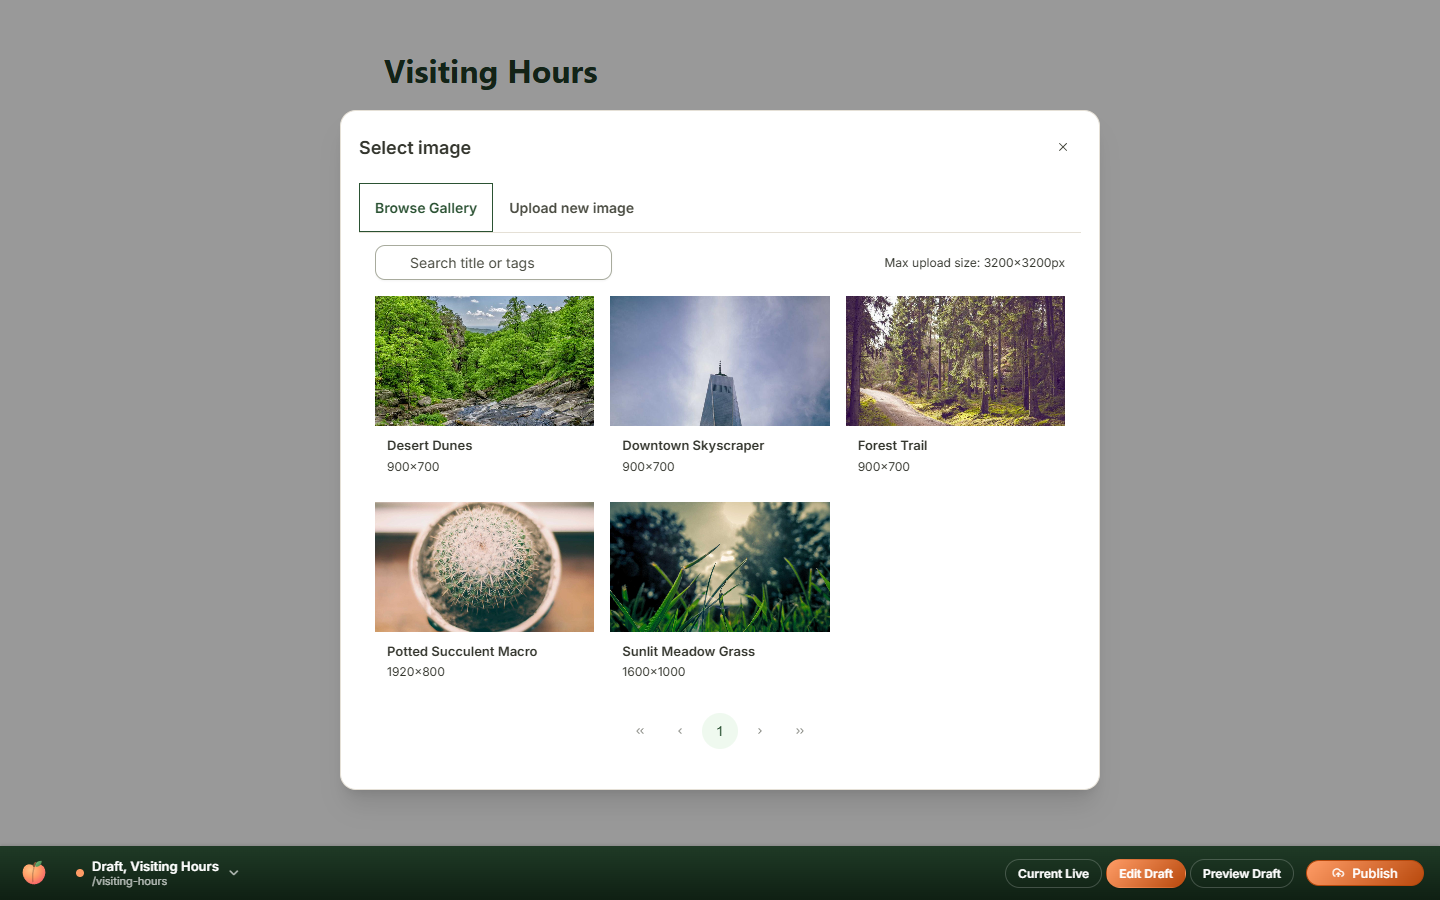
Use it when your content mixes prose and images together, like a blog post or article with photos embedded between paragraphs, rather than a photo living in its own separate Image block.
Raw HTML
A block of HTML content you write or paste in directly, using the same editor toolbar as Rich Text — including its own Insert/edit image button, the same as Rich Text with Media above:
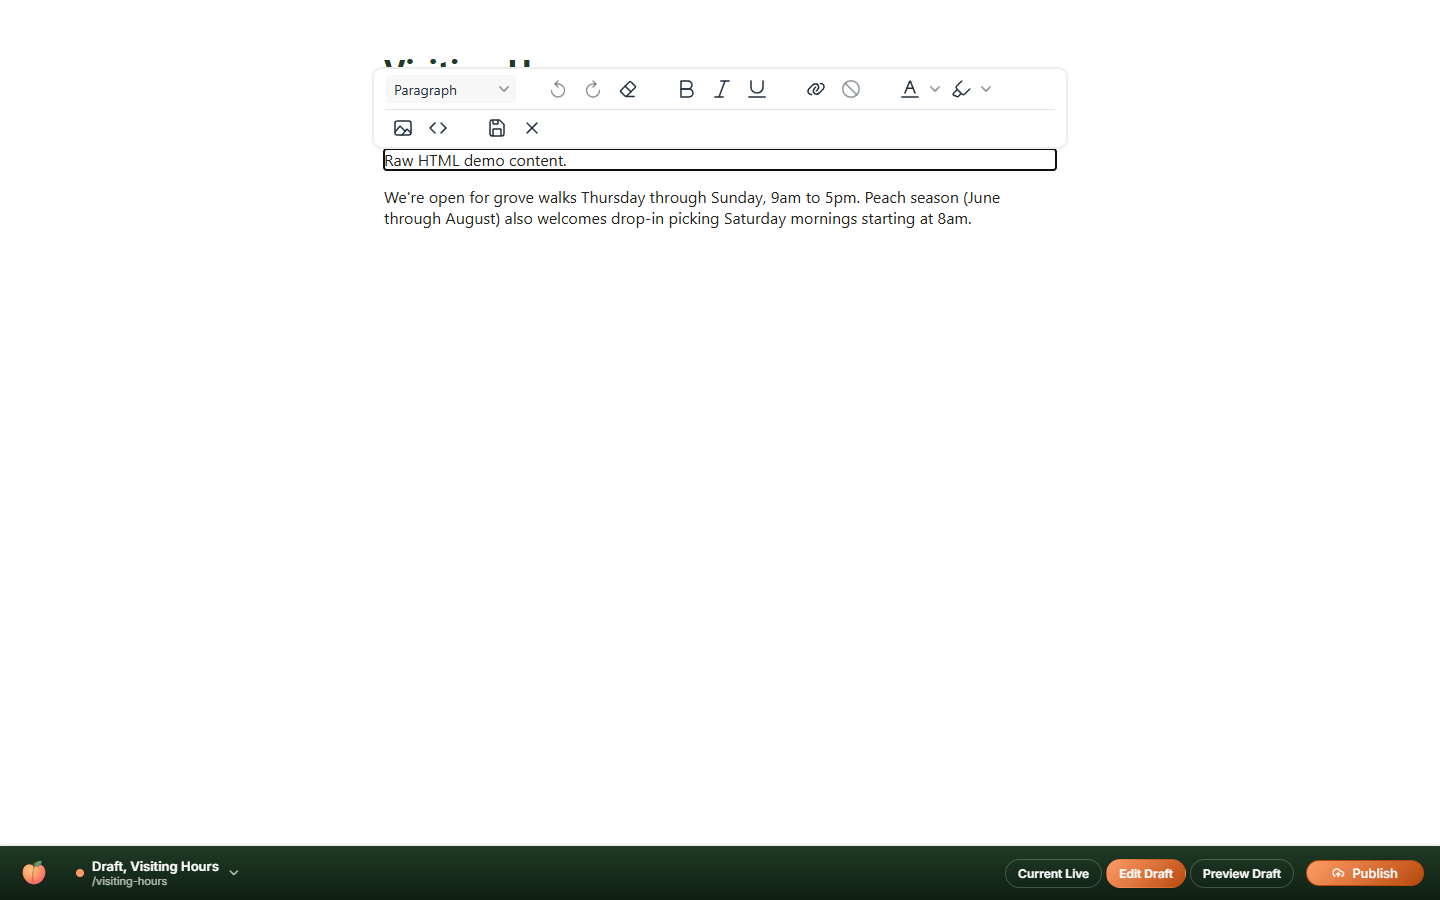
Raw HTML also has its own Source code button, opening a dedicated code editor for the block's underlying markup — useful when you're pasting in HTML from elsewhere or need to see and edit the exact tags rather than working through the formatting toolbar:
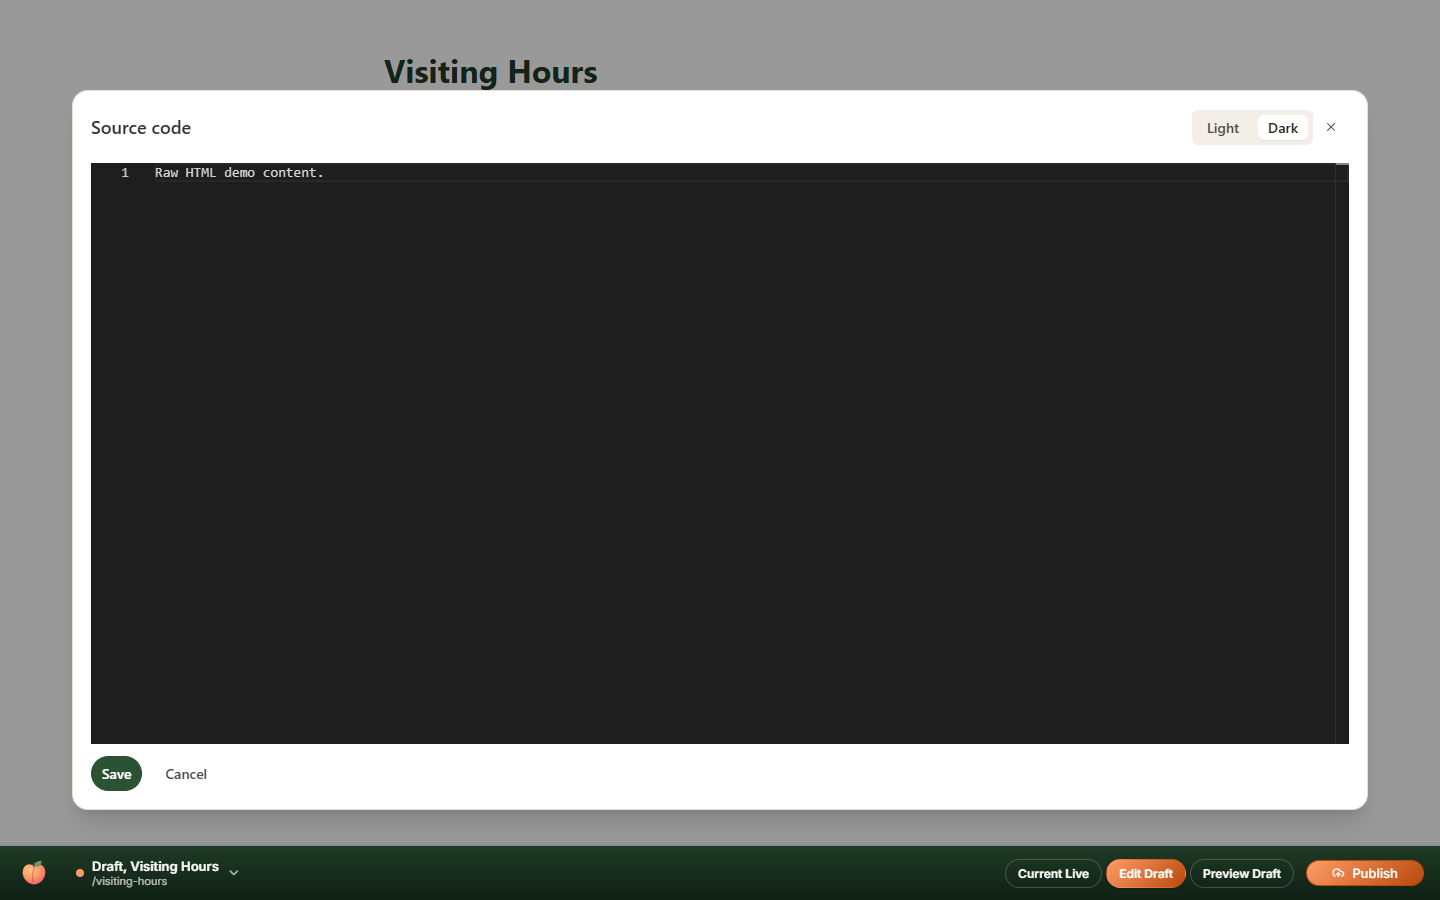
Use it when you need markup the formatting tools weren't designed to produce — a custom layout, an embed code snippet, or hand-tuned HTML for a call-to-action — and you're comfortable writing that markup yourself, since mistakes in it can affect the page's layout.
Document
A link to a file from the Documents library for visitors to download, with a choice of whether it opens inline in the browser or forces a download:
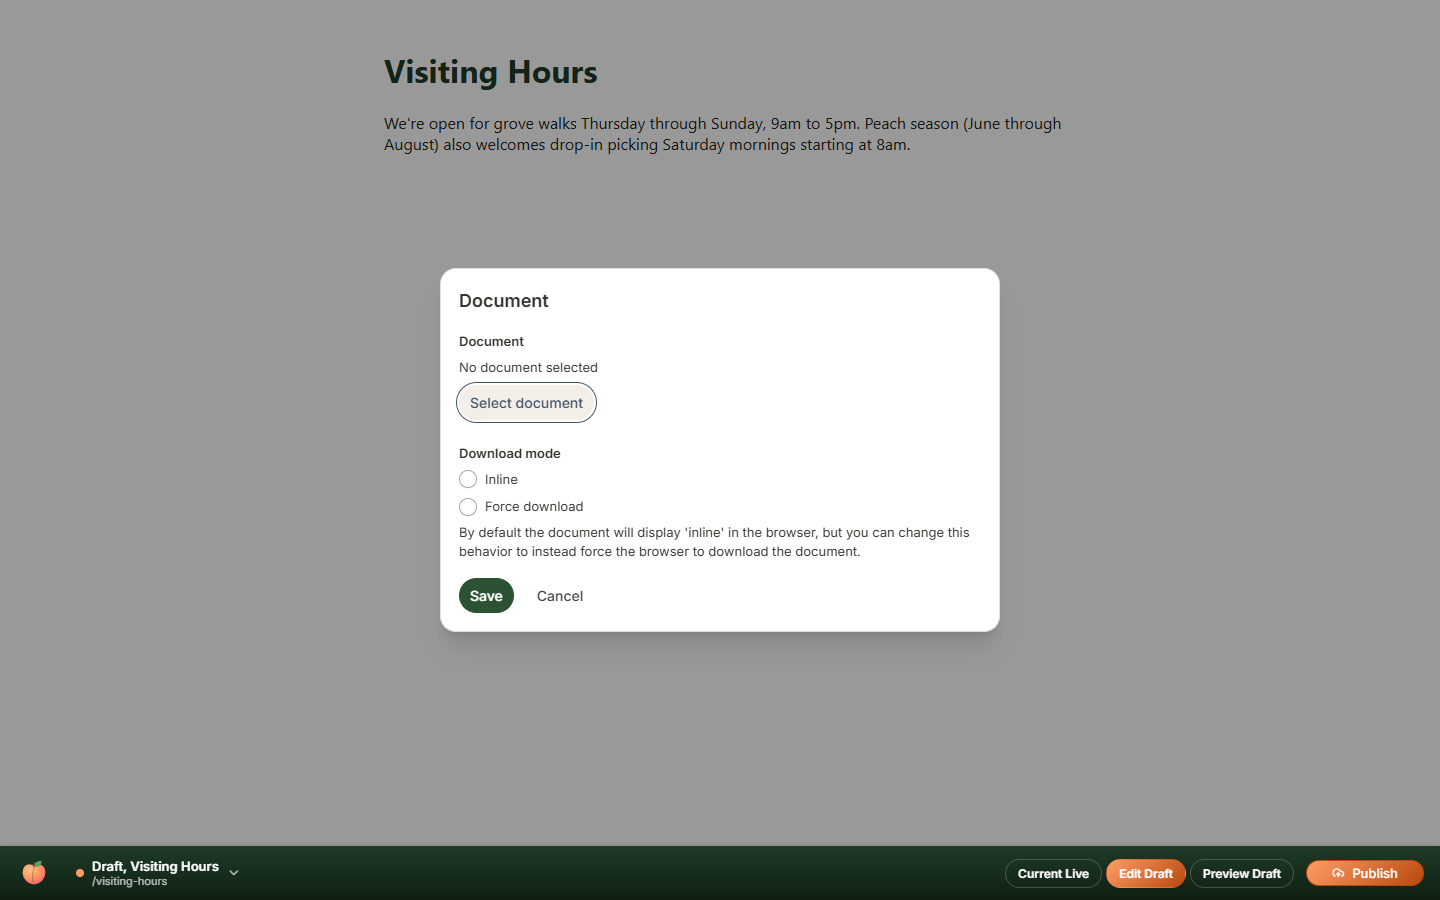
Use it when you want visitors to open or save a file rather than read it on the page — "Download our brochure," a policy document, a form to print.
Plain text
Multiple lines of unformatted text — no formatting toolbar, no HTML:
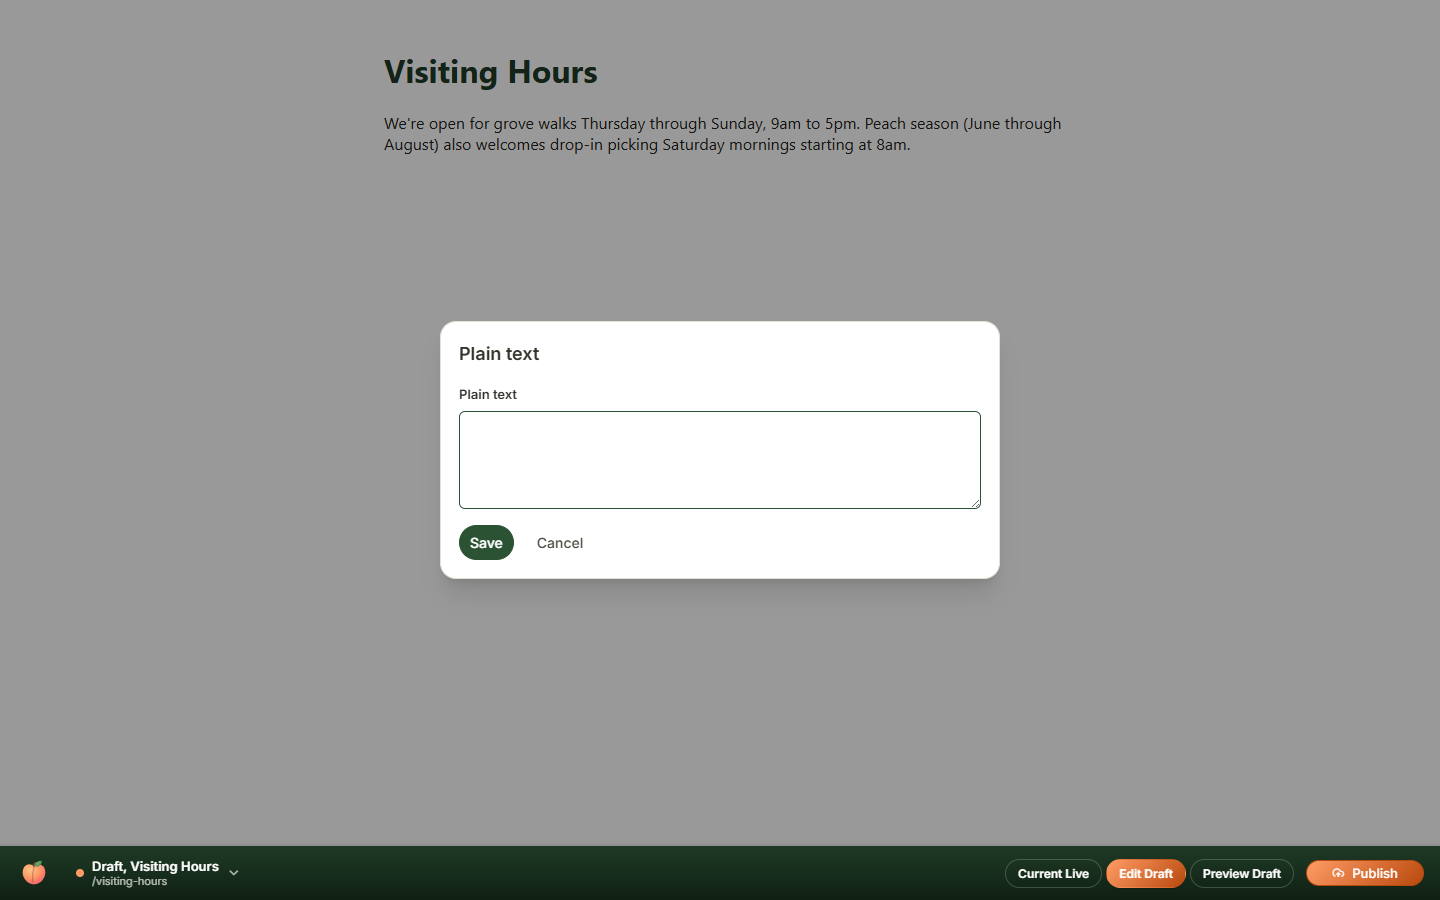
Use it when formatting isn't wanted or needed and you specifically don't want a visitor's browser rendering any markup — a quote, an address, a disclaimer.
Single line text
One line of plain text, for a specific single value the template expects:
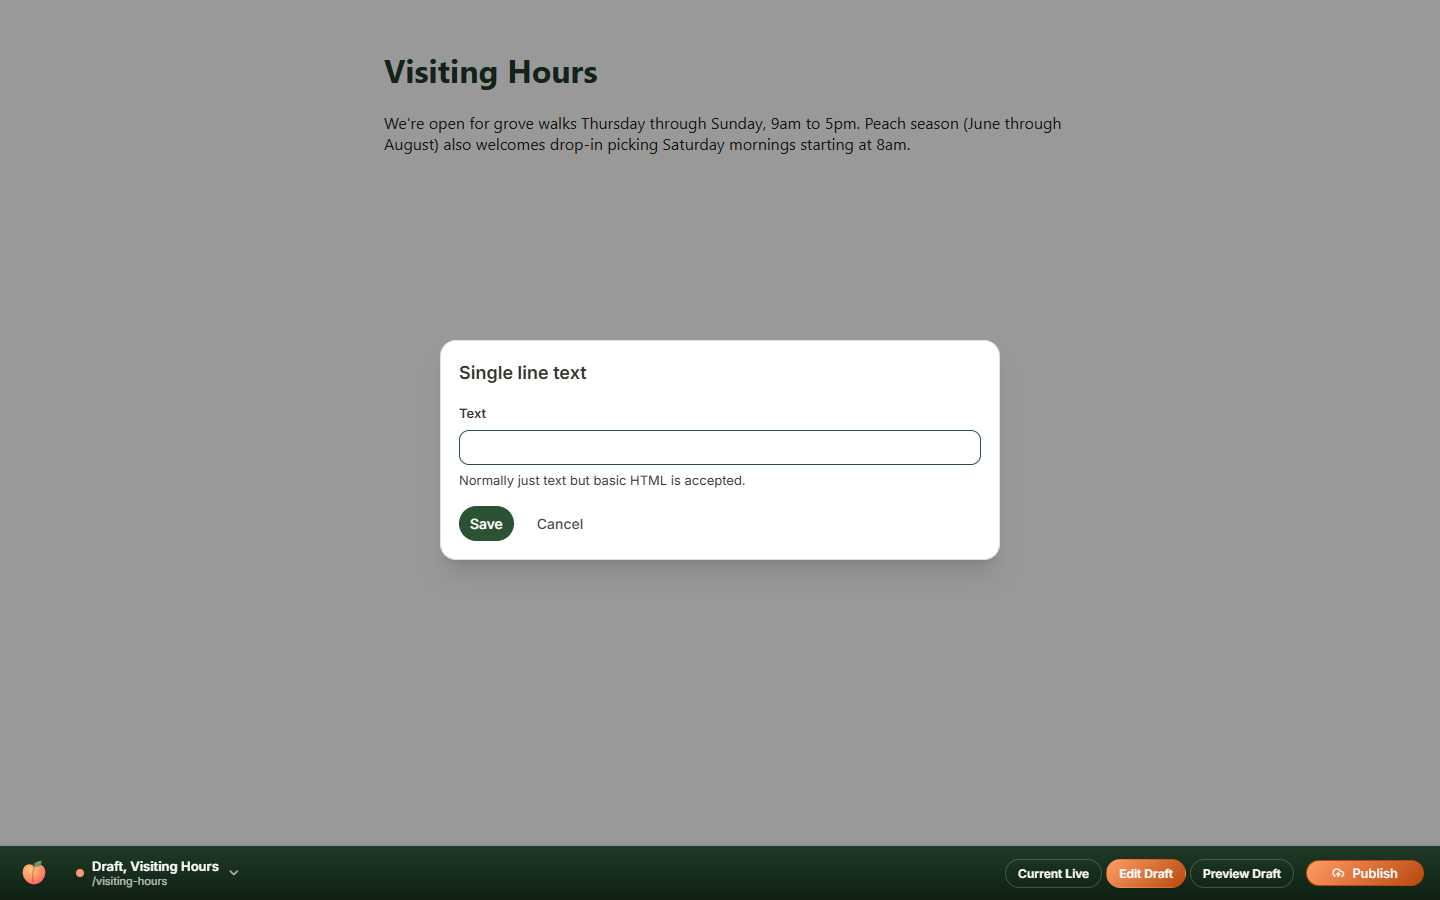
Use it when a template has a spot for a short label or heading-like value — e.g. a tagline under a title — where multiple lines or rich formatting wouldn't make sense.
Publishing your changes
Once your edits look right, use Preview Draft to double-check them without the editing outline in the way, then click Publish in the toolbar to make the draft the live version.